


First things first, go to this website.
Follow all the instructions on getting the signature you want using the wizard option.
Then you can come back here for how to put it in your blog. Or go to this link, which is where I leaned.
*let me give you a little hint ...open multiple windows. If you are like me, you'll forget and it's just easier to toggle back and forth!
Once you have made your signature, picked font,size, color, tilt and all the goodies you want, it will tell you that you are finished.
It will look like this
You want to:Want to download this signature.
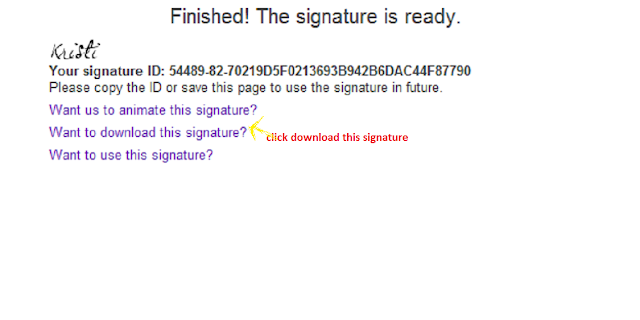
It will bring you to this page, that has the URL code you will need to copy and put in your template later on. Don't close this page, you will need to come back to it

Go back to your blog, click on Design, then Edit HTML tab.


In this search box, you will put one of three codes. Try the first, if it does not bring up any results move on to the next until you find one in your template. It will highlight it, as shown in the picture above.
*You will notice that codes in your widget will begin and end with < >,That is suppose to be in the codes below, but blogger would not let me add them and it still show up.
1. div class='post-footer-line post-footer-line-1'
2. p class='post-footer-line post-footer-line-1'
3. data:post.body/
Just copy and paste each code into the search box

Now the tricky part.
Once the search box finds the code you are looking for, you are going to add this new code underneath the searched one.
*Remember to put < > at the beginning and end of this code, it is required. See above picture!
Then do you see where it says "url_of_your_signature_image"
This is where you will replace what is the in quotations, with the URL from your signature page. It is this one remember...
Once that is replaced, preview your page to see that your signature is there and if so, save your work.
*Note: I did not like where it put my signature, I wanted it further down. So I played with the placement of my new code until I was happy, then saved my work.

Your signature should now appear with each post.
I hope this makes sense and has helped clear up any questions on how to do this. But if you still have any questions be sure to ask, and I'll get right back with the answer.


1 comments:
I can't get my template to expand, so it isn't finding any of the 3 codes!!! So frustrating. I am not sure why it is not working.
Post a Comment
Virtual HIGH FIVE for leaving me a comment! I get all excited when I see them, like gettin something in the mail that isn't junk. They seriously make my day!!!!